
In a previous blog post I talked about my problems with my Xbox 360 overheating and the fan control project that I was using to try and correct the problem (seen below).
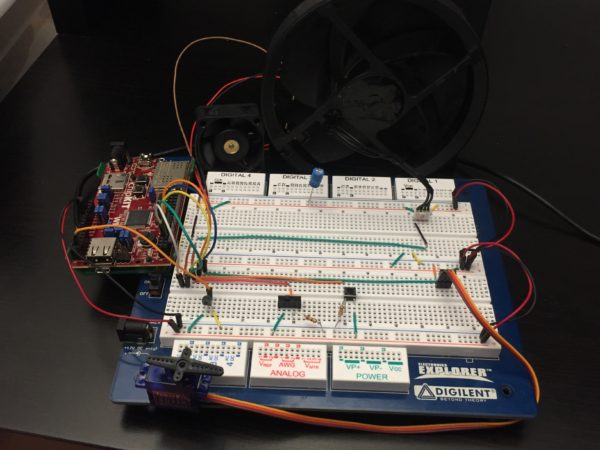
It occurred to me that this would be an excellent opportunity to use the new Raspberry Pi LabVIEW Application released with LINX 3.0. I decided to recreate my project so I could place my fans and servo in my entertainment center with my chipKIT WF32, then have my Raspberry Pi control it over WiFi. A picture of my project is shown below.
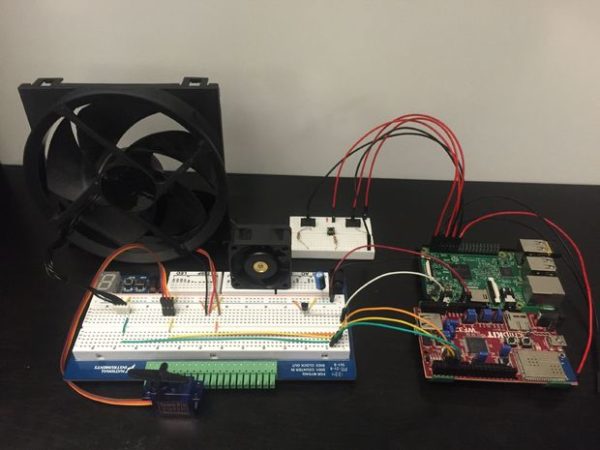
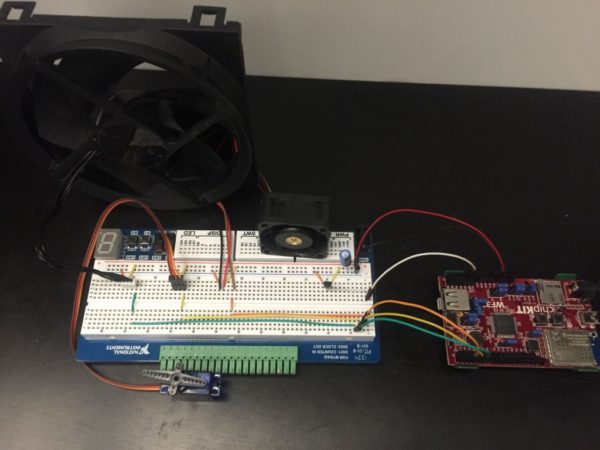
As you can see, this project is split into two different circuits. The first circuit (shown below) allows a WF32 to monitor temperature using a thermistor while controlling two fans and a servo. The fans will automatically turn on if a certain temperature is reached and the servo will turn 90 degrees. This helps regulate the temperature of any device in an entertainment center without running your fans continuously, which reduces the life of your fans and wastes electricity.
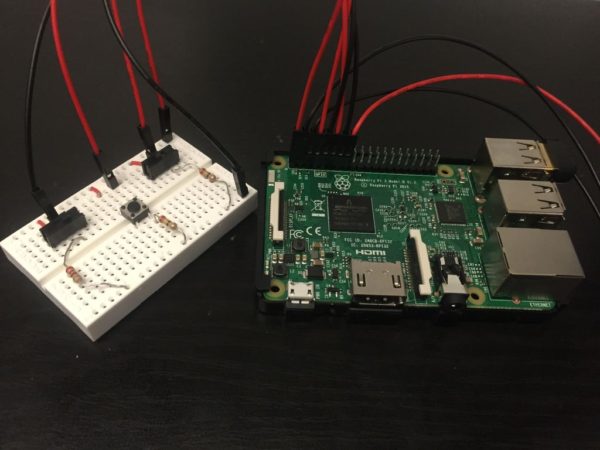
The second circuit (shown below) is used to control the first circuit. One of the switches will be an on/off switch; the WF32 circuit will only work when it is switched on. The other switch allows the user to alternate between automatic and manual control of the first circuit. If a user knows that they are about to generate heat, they can flip this switch on to change to manual fan control. Once this switch is moved, the fans will turn on successively. On the second click, the servo will turn on and begin to move. Then on the third click, the fans will turn off again and the servo will return to its starting position.
Both of these circuits are controlled using LabVIEW (Block diagram and Control panel are shown below). There are several steps you must take to allow the Raspberry Pi to control The WF32 over WiFi. The first step is to connect the WF32 to WiFi using the LINX Firmware Wizard. Next, you will need to setup your Raspberry Pi and install LabVIEW on it. Finally, you will need to deploy a startup executable for this VI it will run without being controlled by a computer.

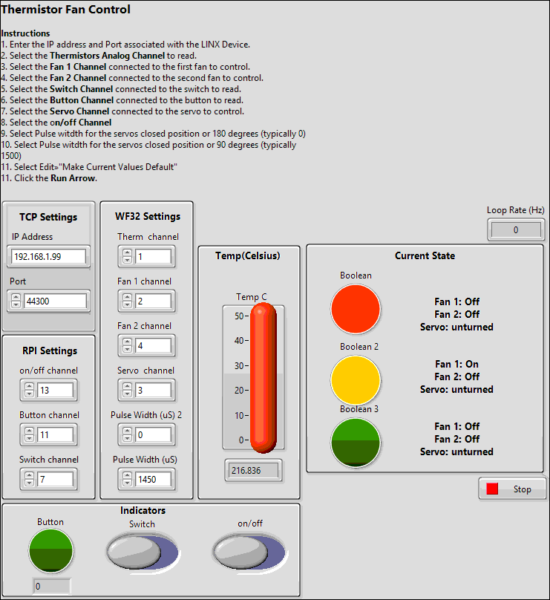
My Instructable “Using a Raspberry Pi to control a WF32 with LabVIEW” will take you through these steps and help you make a fully functioning entertainment cooling system using the Raspberry Pi and LabVIEW. Check out my other blog post “Setting up a Raspberry pi to control a WF32 with LabVIEW“, which gives you detailed instructions on how to use a Raspberry Pi to control a WF32.