
When working on a project that involves FPGA coding, it can be stressful especially if you’re a beginner. Luckily there ample resources out there to help out on your venture. In a previous post I talked about getting started with FPGAs and tips of where to start. I’m going to assume that you’ve read that post so that way we can move on with our adventure.
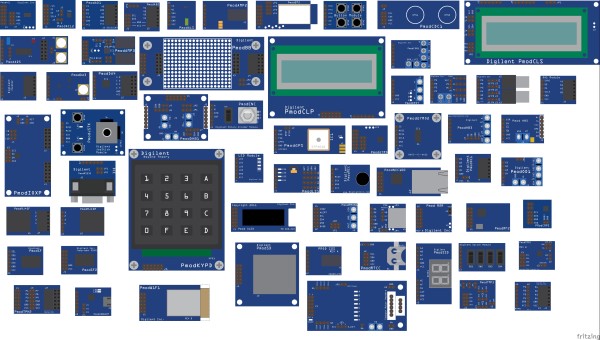
Almost all of Digilent’s FPGAs come with a Pmod port. Pmods, or Peripheral Modules, are special components that have been nicely packaged together for ease of use. They come in many different shapes and sizes and offer a ton of variety to any project you would like to do. There are ones to control DC motors, stepper motors, push buttons, sense temperature, etc. They are fantastic because they are simple and easy to use. But if you’re new to FPGAs, you may not know where to start when trying to get a Pmod to work. Let’s see if we can get one working with the Arty board.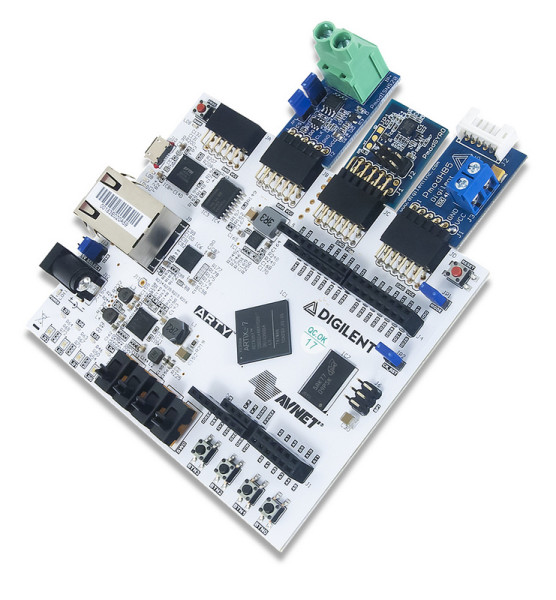
The main way to get a Pmod working is through the Arty’s XCD file. This file is used to define all the different inputs, outputs, communication options and other stuff. Here is where we can activate Pmod ports. The Arty has 4 Pmod ports available for our use. Pmod port JA and JD are just standard Pmod ports while ports JB and JC are high speed ports. The high speed ports have faster communication between the Pmod and the Arty but don’t have any protection against short circuits. We are just going to use a standard port for today.
I want you you to go take a look at the Arty’s Master XCD file, which can be found on it’s resource center. As you can see most of the code in this file has a ‘#’ in front of it. This is how a line is commented out or omitted from the code. Now lets find the Pmod JA port. It should have the line ##Pmod Header JA before the actual lines we will be focusing on.
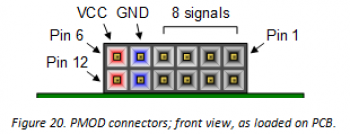
Depending on the Pmod, there is only a certain section of pins you can actually use. The last pins on the Pmod are always used as a ground and power and the first ones are used for data. With a 12-pin Pmod, the pins 1-4 and 7-10 are data pins while 6 and 12 are VCC and pins 5 and 11 are ground.
Looking at this section of code is kind of confusing and probably doesn’t make any sense. So, let’s try to simplify what this line of code is doing. The set_property is going to set the Pin of to the a certain variable. The pin of that line is the actual physical pin that the Pmod port is tied to. Pin 1 or Port JA is tied to Pin G13 on the board. The software knows the board and can interrupt this correctly. Those first two items shouldn’t be changed for what we are doing. Now, the get_ports is where the variable placed there will be used to collect the value of Pmod port. This variable can be changed to the variable of your choice from your program.
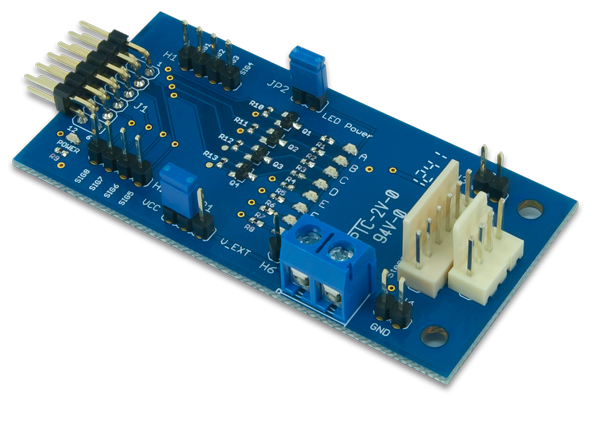
Since Pmod connectors differ in the number of pins (6 or 12) and location of data lines (communication protocol), you’ll need to figure out which ports you want to use. Depending on the Pmod you will need to check out that the specific reference page. Let’s take a look at the PmodSTEP. This Pmod has a 12-pin connector but I do not need to use all of the pins for what I’m going to do. I was using a 4-wire stepper motor that means I would only need to use one row of the Pmod’s pins. This is where pin selection and activation becomes important. Because the motor output pins are on pins 7-10, if I used signal pins 1-4 I would only get the top LEDs to light up and no signals to my motor. But, If I use the bottom 4 signal pins, 7-10, I would get signals to the other LEDs and my stepper motor.
You will need to check the Pmod’s reference guide and even the schematic to determine what pins you need to use. Once you start to use the Pmod ports it will only become easier. You will be able to do more things with Pmods then when you started. Just keep practicing and learning!
Very nice post. Perfect help for startups and begginers!