
As you’ve heard, Digilent came out with a new FPGA board designed for use with MicroBlaze. If you didn’t hear, check out the product announcement post for some information and a Video!
The video in that post is a video done by Xilinx, talking about Arty and showing off the demo that comes on board when Arty is shipped to you. The demo uses several I/O features of the board, as well as a UART serial interface.
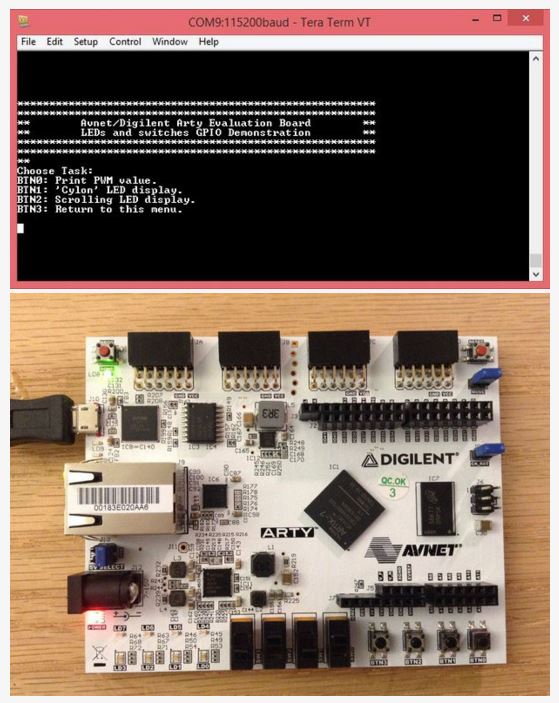
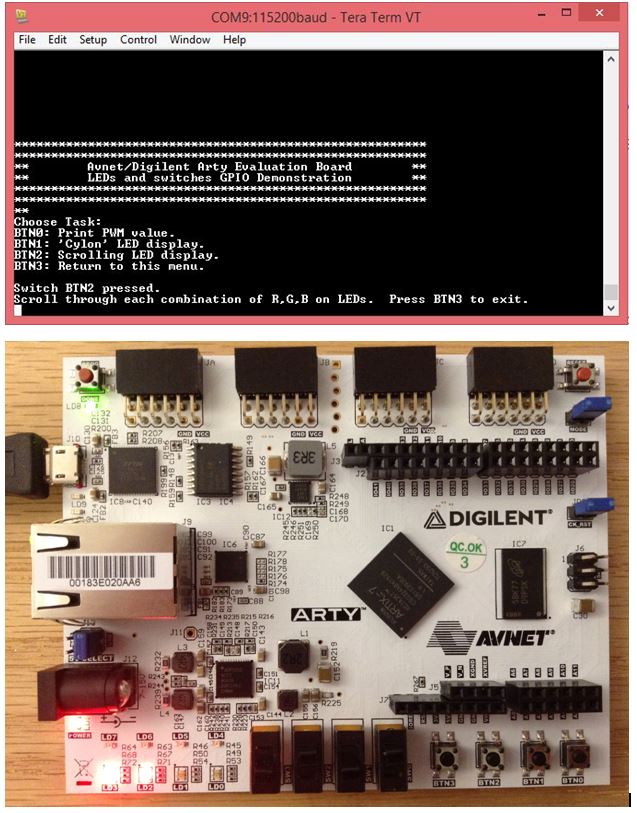
I took the part of the video that goes through the demo and turned it into an Instructable called Getting Started with Arty.
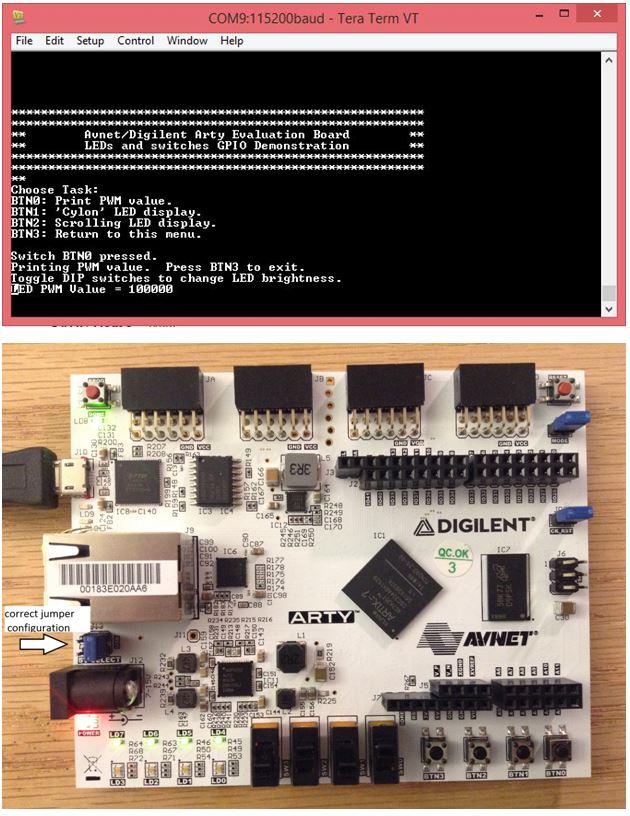
The Instructable starts with PWM mode, where the switches define a PWM signal that is sent to the LEDs. A PWM signal is a square wave. This dictates how bright the LEDs are by changing duty cycle. You can also see the PWM value on the UART output.
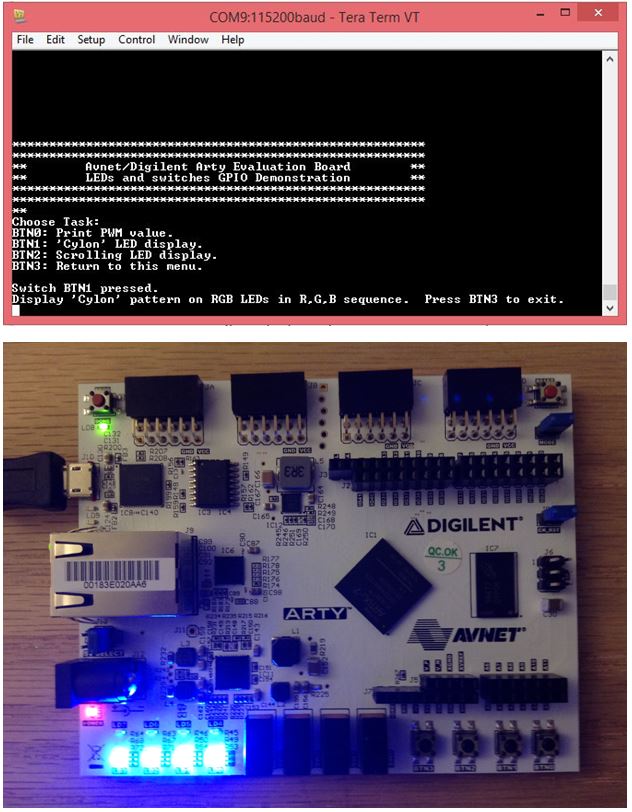
The next mode is Cylon Mode. In this mode the RGB LEDs cycle through colors.
The next mode is the Scrolling LED mode, In this mode the RGB LEDs alternate which one is on at a given time.
To use the on-board demo you can go through my Instructable. For more information about Arty, including the reference manual and demo projects go to the Arty Reference Center.
I am not able to download the reference manual. This link seems dead http://reference.blog.digilentinc.com/arty