
For those of you familiar with WaveForms 2015, you know that you can install it on either your Mac, Linux, and Windows machines. You probably also know that it provides the user interface for the Analog Discovery 2, Analog Discovery, and Electronics Explorer Board.
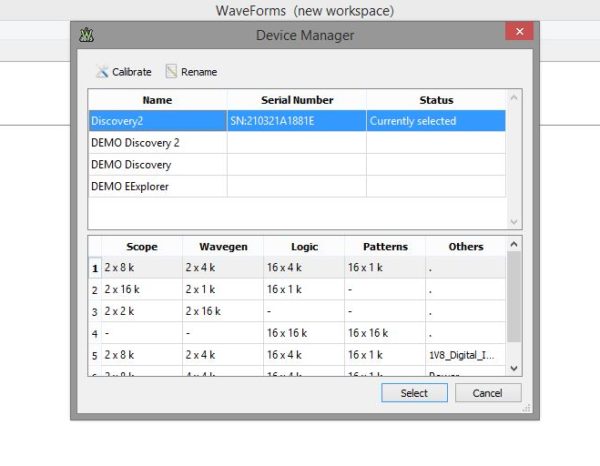
When you first open WaveForms 2015, the first window you will see is the Device Manager. In the Device Manager, you can pick the way you want to run WaveForms 2015, whether that is with one of the above mentioned boards or in Demo Mode.
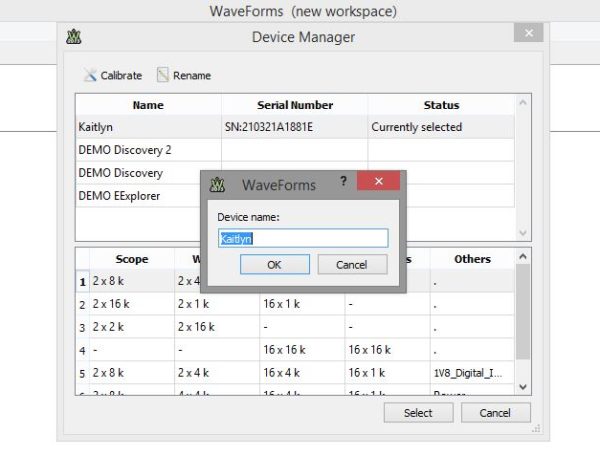
If you are connected to a device, not only can you use all of the tools included in WaveForms 2015, but you can take advantage of two of the often-overlooked tools within the Device Manager. These are the Rename tool and the Calibration tool.
The Rename tool allows you to give your device a unique name. This way, if you are collaborating in a large group with say, multiple Analog Discovery 2‘s, they won’t all show up with the same default name (Discovery2). You can name it a combination of upper or lower case letters, and numbers.
That’s pretty neat, but in my opinion the most powerful tool in the Device Manager of WaveForms 2015 is the Calibration tool.
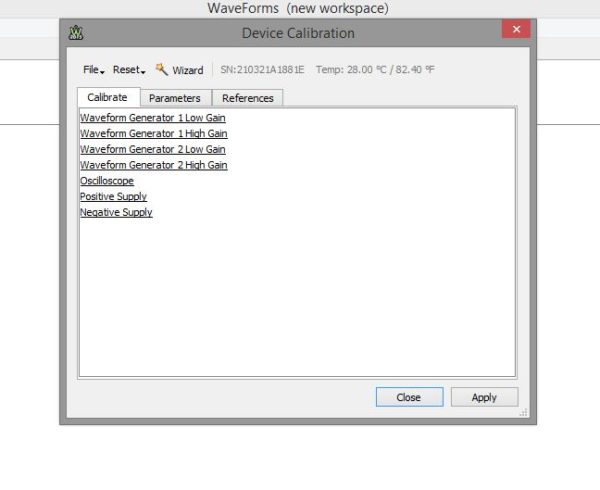
To open the Calibration Window, in the top left of the Device Manager, click Calibrate.
In the Calibration window you’ll see the Calibrate tab, with all of the tools you can calibrate, the Parameters tab, and the References tabs. The Parameters and References tabs contain values used to define the calibration of the device. I highly recommend that you don’t change these manually if you can avoid it.
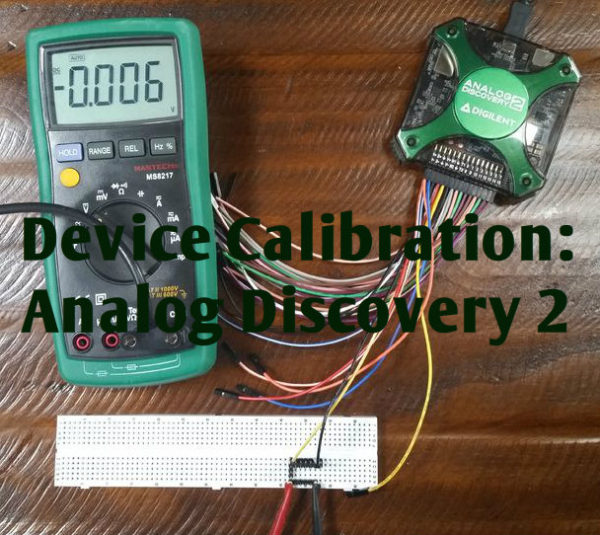
Using a reliable DMM, a breadboard, and some pin headers, you can use the Calibration Wizard to do an automatic calibration. To launch the Calibration Wizard, click on the Wizard button at the top of the Device Calibration Window.
The Calibration Wizard will take you through a series of measurements and automatic calibrations. To view the full instructions for getting an accurate calibration, check out this Device Calibration tutorial.
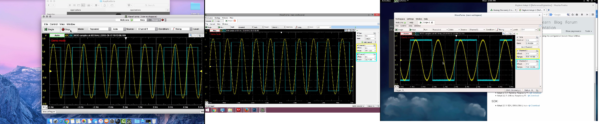
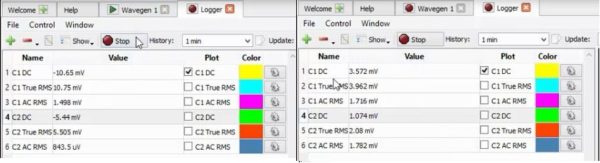
At the end you can see that after calibration my Analog Discovery 2 was much more accurate than before:
For more information about getting started with your Analog Discovery 2, make sure to check out the AD2 quick start video series.