
Previously, I posted about what a debugger is. Other than all the great features I described in my debugger post, you may be wondering–why does Digilent care?
As you probably know, we use many of Microchip’s wonderful products in our chipKIT and chipKIT Pro boards. James briefly covered the differences between two specific boards in the chipKIT series and the chipKIT Pro series in his post chipKIT Uno32 vs. chipKIT Pro MX4. However, we still want to address the overarching differences between the user experience using chipKIT and chipKIT Pro boards. Many people didn’t even know that there were two different chipKIT series. I’ve created a table to show the differences between the two.
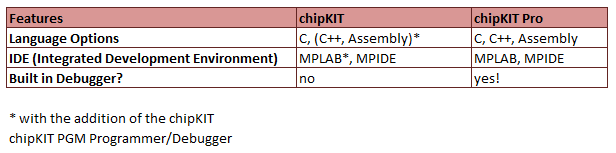
The main difference has everything to do with debuggers. MPLAB is more intended for use with the chipKIT Pro series of boards, while MPIDE lends itself more to being used with on the chipKIT boards. In order to use MPLAB with chipKIT boards and really know what’s going on with your code, you have to use the chipKIT PGM programmer/debugger, which has more limited uses. Of course, MPLAB doesn’t offer as streamlined and simple of a user interface as MPIDE, so which platform is preferable is really up to the user.
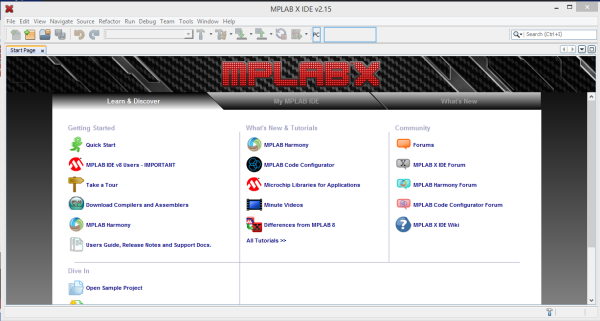
I personally much prefer being able to use a debugger when building code from scratch. Here is an example of using a debugger in the MPLAB environment:
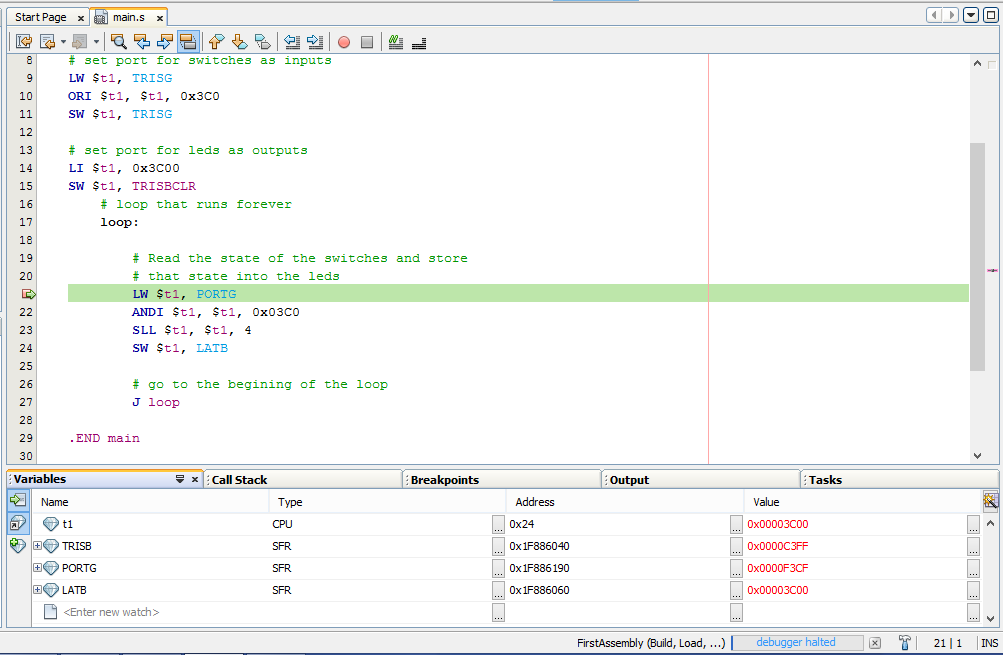
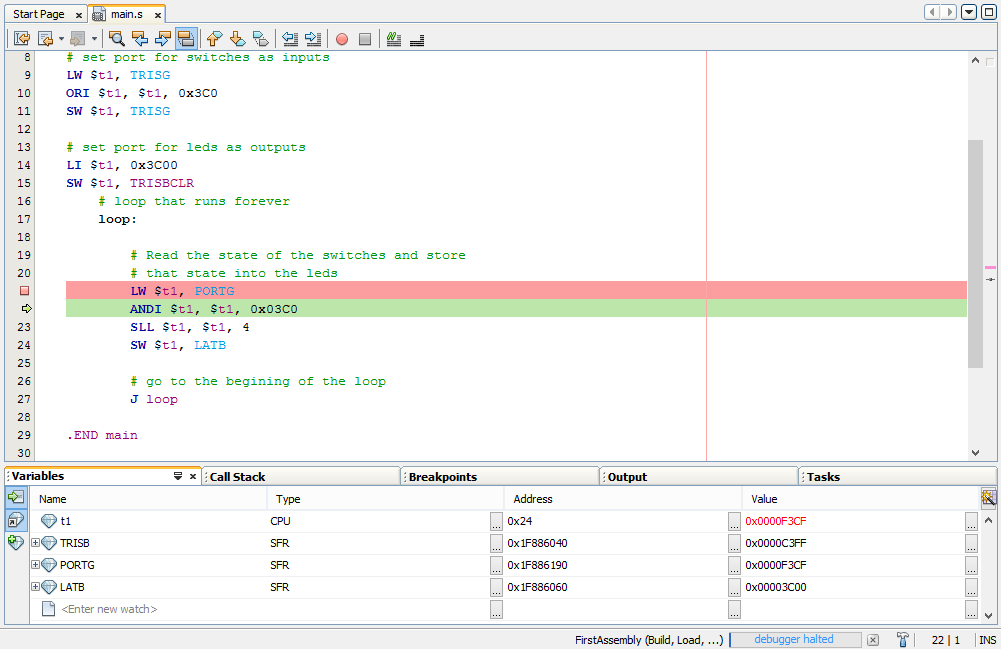
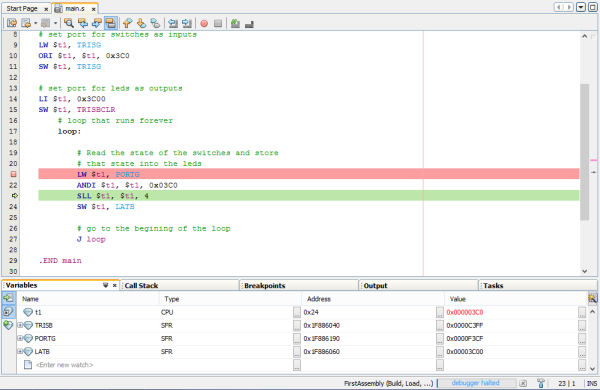


Being able to watch variables like this is immensely helpful when writing complex code. You can find exactly which lines and which variables aren’t working correctly and easily fix the problem.
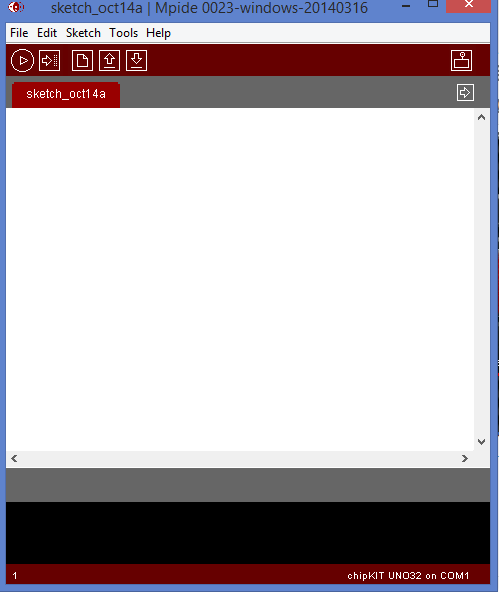
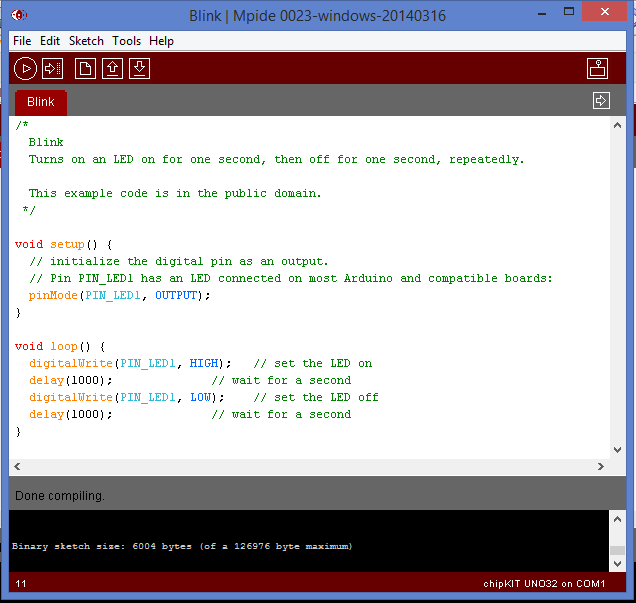
However, using a debugger isn’t really necessary with all the help MPIDE offers, especially if you are writing simple code and using any of the many, diverse libraries. Within the MPIDE interface, there are an abundant number of examples in C. On top of that our Learn site and Instructables offer more in-depth examples and explanations.
Now that I’ve highlighted some of the differences and features of MPIDE and MPLAB, go to the Microchip website and try them out for yourself! Depending on your intended project, you might find one to be more useful than the other. With all of the features available in both programs you might find you like using both.
http://chipkit.net/mpide-vs-mplab-ide/ is a good follow up post!
Hi Larissa/ Digilent
Will MPLABX – IDE work with Microblaze softcore from Xilinx on Artis board ?
Any docs/ codes to make sure it works , before we decide on buying the hardware?
thanks
…ravi