
Raspberry Pi 4 is Adafruit’s popular tiny desktop computer. At only $35, it’s widely considered the standard in the Maker community. Our own Digital Discovery is quite the value as well, with 32 digital channels in a similarly small form factor. One thing you might not know, however, is just how easy it is to get a digital testing environment up and running on your Raspberry Pi! There are several reasons you might want to do this. The Raspberry Pi is super-portable, but still has the means to connect to displays. If you’re working on a project using one, it’s very simple to just switch from the project and connect to a display, while using a free USB to connect to an Analog Discovery 2 or Digital Discovery and running WaveForms directly on the Raspberry Pi 4. This way, you can debug, troubleshoot, and test your project without any hassle!
Here, let’s give you the rundown on how to get a test instrument going with a Raspberry Pi:
- Install WaveForms on the Raspberry Pi
- Connect your test and measurement device (in this case, the Digital Discovery) to one of the Raspberry Pi’s USB ports
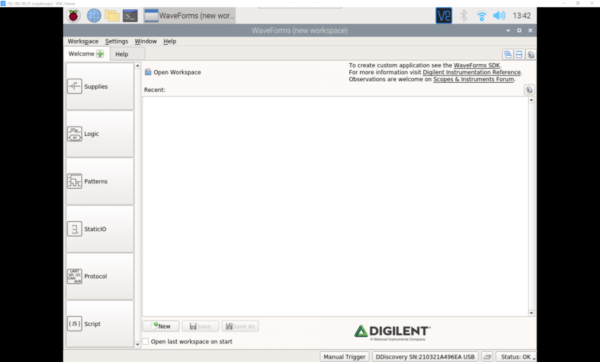
- Launch WaveForms
- WaveForms will automatically recognize which device you have connected to it. However, if it doesn’t, you simply have to navigate to the Device Manager from the Setting menu
That’s it! Pretty simple, huh? With the Digital Discovery connected, you’ll be able to interpret and produce digital signals on the go right on your mini-desktop.
For complete directions on setting up the Raspberry Pi and installing WaveForms, click here.