
Getting useful data from your magnetometer can be a challenge. Not only do you need to figure out how to acquire the data in the first place, but you also need to worry about calibration and then turning the data into useful measurements of magnetic field. Most of us want to use a magnetometer as a compass, so the following will describe how to start getting data in the first place. This will be demonstrated using the Pmod CMPS2. Future posts will describe how to calibrate and convert the data.
Acquiring data – quick start
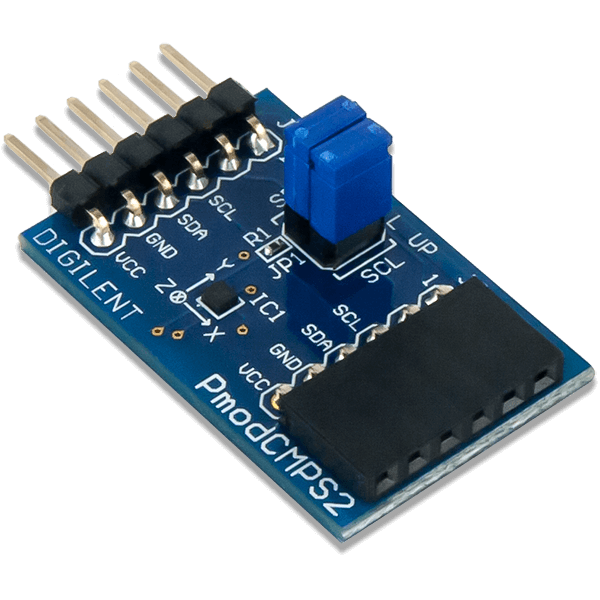
The Pmod CMPS2 uses the I2C communication protocol. Here is the series of commands to acquire a set of magnetometer data from the Pmod CMPS2 via pseudo code for an I2C controller.
-
Power on the Pmod CMPS2 and wait for 10 mS before further operation.
-
Provide a START condition and call the device ID with a write bit
I2CBegin(0xA0); //device ID 0x30 with a write (0) bit
-
Wait to receive an ACK from the Pmod CMPS2.
-
Send the Internal Control Register 0 (address 0x07) as the register to communicate with
I2CWrite(0x07); //address 0x07 corresponds to Control Register 0
-
Wait to receive an ACK from the Pmod CMPS2.
-
Write the command to take a measurement by setting bit 0 high followed by a STOP bit.
I2CWrite(0x01); //0x01 initiates a data acquisition
-
Delay at least 7.92 mS by default to allow the Pmod CMPS2 to finish collecting data.
-
Provide a START condition and call the device ID with a write bit
I2CBegin(0xA0); //device ID 0x30 with a write (0) bit
-
Wait to receive an ACK from the Pmod CMPS2.
-
Send the Status Register (0x03) as the register to read
I2CWrite(0x03); //indicate you wish to interact with address 0x03
-
Provide a START condition and call the device ID with a read bit
I2CBegin(0xA1); //device ID 0x30 with a read (1) bit
-
Wait to receive an ACK from the Pmod CMPS2.
-
Cycle the SCL line to receive the Status Register data on the SDA line. Keep reading the Status Register by repeating steps 8 through 13 until bit 0 is set to ‘1’, indicating that the data on all 3 axes as available to be read.
-
Provide a START condition and call the device ID with a write bit
I2CBegin(0xA0); //device ID 0x30 with a write (0) bit
-
Wait to receive an ACK from the Pmod CMPS2.
-
Send the first register address corresponding to Xout LSB (0x00) as the register to be read.
I2CWrite(0x00); //address 0x00 as the first register to be read
-
Provide a START condition and call the device ID with a read bit
I2CBegin(0xA1); //device ID 0x30 with a read (1) bit
-
Wait to receive an ACK from the Pmod CMPS2.
-
Cycle the SCL line to receive the data bits from the X, Y, and Z registers in the SDA line, providing an ACK between each data byte. The Pmod CMPS2 address pointer automatically moves to each consecutive byte. End the communication by sending a NACK followed by a STOP command.
I2CReadMultiple(6); //read six bytes, sending an ACK to the slave device between each byte received and a NACK after the last byte -
Convert the readings into usable data. More details about how to do this are available in another post, or can be accessed by going to the Pmod CMPS2 reference manual.
-
Wait 1/3 of the acquisition time (by default 2.64 ms) before performing another measurement.
Don’t forget calibration and conversion from units of Gauss to a compass heading are still needed in order to get accurate measurements and turn your magnetometer into a digital compass. Instructions on how to correctly calibrate your magnetometer using the Pmod CMPS2 as an example is coming up in a future post, as well as instructions on how to do the proper date conversion. Or you can access those instructions now by going to the reference manual, linked directly above.
If you’d like to see some example code written in the Arduino IDE for how we acquire, calibrate and convert data from the Pmod CMPS2, see the Pmod CMPS2 Resource Center.
For any comments or questions, please post in the comment section below or visit the Digilent Forum!